I. The decision to be a (wedding) photographer
II. Preparations, building up to one perfect day: schedule, shot list & gear.
III. The wedding day
IV. Post processing & the wedding album
II. Preparations, building up to D-Day
B. Building a shot list
In this part I’ll cover how I further prepared for my first wedding.
Certain images are a must have in any wedding book, I’m thinking a detail shot of the rings. This is an obvious one but there are plenty of other shots that you might not think about on that day. When you do your first wedding you haven’t created a routine yet and are thinking about a lot of different things, it is easy to forget. Mind you that the expected shot doesn’t necessarily have to be classic or cliche. Yet it is more important to get the shot any way you can than not having it at all.
“You always have to go into the field with an idea. Hopefully, a good idea. But a good idea becomes a bad idea when you don’t see anything else” Joe McNally
To create some more routine (even before doing my first wedding) I used a method similar to something I picked up from Bert Stephani’s Creative process , keywords post. I watched a lot of images online and even asked some people I know who got married if I could have a look at their wedding album.
“Must have” shots become apparent rather quickly so I noted these down. I carried my little book everywhere I went, jotting down random words or little phrases. End the end of the week I would categorize them so I could make a shot list that could act as a quick reminder.
Bride preparing
– makeup, mirrors
– dress & shoes
– putting on dress
– sexy thing on leg …
– mom & daughter moment
– dress & shoes
– specifics in the dress
– jewels
– details around the house (invitations, schedules, …)
Groom preparing
– clothes
– putting on / closing shirt
– tying tie
– clothing details, socks, tie, Machete buttons,
– details around the house (invitations, schedules, …)
Pickup
– bride anxiously waiting
– groom arriving in car
– doorbell moment
– staircase shot; I took a shot when the bride came down the stairs when the groom wasn’t there just in case yet but nothing compares seeing the tinker in her eyes on this shot. Yes there are parts in the picture that are burned out (for the BD‘er out there), but sometimes the right moment trumps the “right” camera settings.

Transport
People pay a lot of money for the days special transport. Better have some nice souvenirs.
– details of headlights
– play with mirror and or reflections
– use it during the official shoot?
– why restrict yourself from taking pictures from the outside only
City hall
– hands being held
– kids crawling around
– crying family/friends
– major , back/front/side shots
– signing of documents, close up of wedding book
– best man of groom & bride
– the ringshot; before the wedding I ask the couple to put the ring on gently, and not cover it with the whole of their hand
– kissing part
– couple coming outside
– rice, confetti, pigeons, ….
Official shoot
Everything depends on the location for the official shoot. Making a shot list here is rather impossible, but I did have some scribbles.
– play with DOF, couples don’t have to be on the same focal plane every time
– mix wide with tele, I didn’t want to get home noticing I only took tele shots or that I forgot tele shots.
– special attention to the bride, don’t forget the solo shots
– capture romance , it doesn’t always have to be kissing.
– leave the couple alone, give them some space, do the paparazzi thing with your telezoom.
– get low or climb a tree if you have too, change your perspective
Reception
– behind the scenes
– guests arriving
– welcoming guests
– welcoming party (official mom , dad line)
– champagne
– details, presents, flowers, ….
Dinner
– behind the scenes (get into the kitchen)
– a shot of the tables before it is a mess
– food details, make it look tasty
– waitress
– overall picture
– dessert
Opening dance
Depending on the client wishes I stay just till after the opening dance. One good shot is all you need and maybe some more general party pics just so you capture the atmosphere. After that I call it a day, but don’t pack up all your gear or you could miss a shot like this.
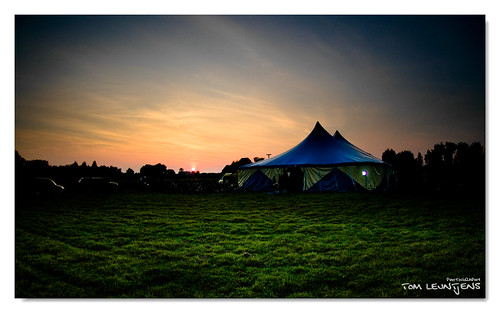
This list would not be my definite guide for the day, and it never should be. But it helped me a lot learning me what to look out for, it learned me to see things differently.
And on the day itself … I forgot my list at home.