*UPDATE*, I’ve created a page here where I grouped up all related articles for your re-reading pleasure.
I. The decision to be a (wedding) photographer
II. Preparations, building up to one perfect day: schedule, shot list & gear.
III. The wedding day
IV. Post processing & the wedding album
II. Preparations, building up to D-Day
C. Gear
I’ll quickly go through the gear part because this can be a personal preference and it is not always about the best and most expensive gear. Gear also defines a style, I’ve seen photographers, pro or amateur with old holga camera’s (a great Russian camera that’s makes you wonder why you ever needed that L glass) making awesome pictures.
Camera Bodies
As mentioned in part I of this series I wanted to have 2 bodies with me. (a Canon 400D and a Canon 40D)
For backup reasons in case one breaks down and because I could have one body with a wide angle & another body with a zoom lens and didn’t have to bother switching lenses. The 400D isn’t really a top of the line camera and uncle bob may be attending with the same as you, just stay calm and think …
“It’s not the size, it’s how you use it”
Then why did I upgrade to that 5D? The 400D feels a little small in my hand, the 5D is more robust, it’s a full frame and has a better high ISO performance.
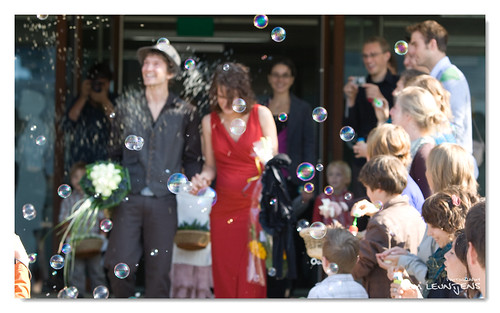
Speaking about uncle bob, stay friendly. This is where you started .. heck that was me last year. Just let them know your presence on decisive moments so he is not in ALL your shots on the background. (inevitably he will be in some shots, see bottom) Same goes for all aunties with a point-and-shoot. When the couple came out of church I made sure they wouldn’t all come standing in front of me.
Lenses
Sigma 24-70 2.8
This was my first real ‘fast’ lens I bought. Your kit lens becomes useless pretty fast when being in dimly lit areas. For me the 24-70 is a good all round lens to use. For some reason I like tight(er) shots more than wide shots. My photography is changing (evolving) and I want to get something wider. I recently upgraded to the Canon 24-70 2.8 L not because I was unhappy with the sigma but I wanted a faster and more accurate focusing in difficult condition.
Canon 70-200 2.8 L IS USM
Okay, this is a serious investment. I felt that if I wanted the shots I was after I was going to need a fast zoom lens. I chose the heavier IS version to help me even more in dimly lit churches & venues (I was terrible at the time at doing handheld shots even at 1/50th). Why a zoom? For one, you can’t be in the middle of the altar with them and secondly I don’t want to be up close and personal with the couple all the time.
I want to be able to step away let them be romantic and go paparazzi-mode on them.
Having this big guy on your body and nobody mistakes you for uncle bob.
50mm 1.8
The plastic fantastic, this little lens gives nice colors and for that price it should be in everyone’s camera bag. This is the only prime lens I own for now and I feel this makes me work more and see things differently. Actually I would like to do a full day with just one lens. But my first wedding was not the time for experimenting.
Tamron 70-300
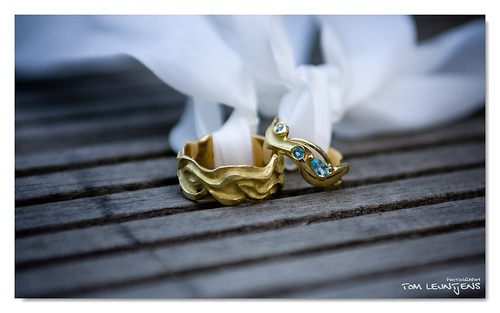
One of the lenses that came with my 400D starter pack. It was in my bag for one reason only, the macro function. I used it for one shot, the ring details.
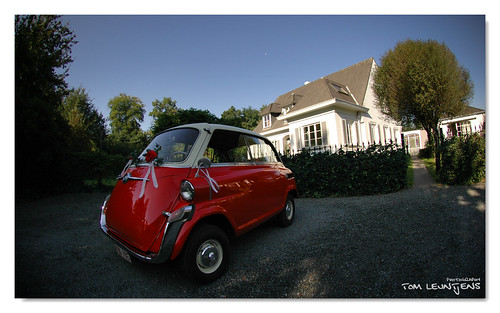
Nikon D70 with a 10.5mm fisheye
Because the 24-70 (x 1.6 for the crop bodies) was the widest lens I had in my bag I also wanted a different series of pictures. A friend let me use his and it made for some very funky & nice looking pictures.
Tripod / Monopod
Some situations simply require a tripod or monopod. Or when you are going solo you can cover two angles at once. Imagine setting up a camera mounted on a tripod in the back of the church and being able to remotely trigger it with a pocket wizard while you are at the front. Gotta love technology.
Other ESSENTIALS
Batteries, Spare Batteries and if you run out of those, chargers !
Memory cards, more memory cards and if you run out (we shot close to 20GB on our first wedding) a laptop or imagethank to copy/backup everything.
Lighting gear
Trying any strobist stuff in church would be stupid so my lighting bag (except the 580EX flash) stayed in the car during that day but my strobist roots came into play during the official wedding shoot (more about that later). Inside the bag, the usual: lightstands, umbrellas, gels, flashes, batteries, triggers & receivers (V2’s), gaffer tape, …
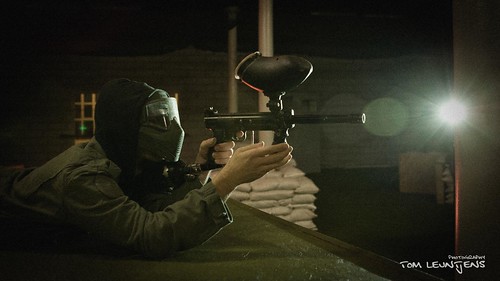
Tom²
I tried to think of every possible emergency, still doubt & nerves came creeping in on me.
What if I don’t perform. What if I mess up on those must have shots. What if I forget things. I want different angles on each scene and there is only one me …
What if I can use an older clone, a prototype of sorts (he got the looks, I got the wits) … enter Tom.
One quick call and I put all the presume on him. Neah just kidding, Tom is one of my best friends and I feel he actually takes better pictures, I tend to over complicate things, he just shoots from a gut feeling. And boy did he perform! (he did all the shots over at the groom’s house)
Having an assistant/2nd shooter at a day like is really great. Especially at your first wedding.
Simple issues become major problems fast …
I wanted a picture of the bride/groom leaving to city hall and have pictures of the couple arriving at city hall. That means, you take the shots while they leave, sprint to your car (find the keys), (literally) throw everything on your back seat, race the couple to city hall, hope you don’t have to break too fast (gear on the back seat), find a place to park, grab your gear &bag, lock the car, sprint …..
But when you have a Tom … you take the pictures, he picks you up (and still races the couple), you hop out, he parks and brings over the rest of the gear. And in our situation, he finds the 50mm lens I dropped somewhere along the way.
Tom was also a lifesaver during the official shoot .. he was my driver & mule!
A wedding day is a long day and often the only people you have met are the couple, when there are two of you, you can share a joke, act silly, get french fries, grab a beer, … it’s good to have a friend.
So if I haven’t said it yet .. THANKS!

Having a 2nd shooter is great to cover two angles.